The question
Every vintage amp that comes across my bench eventually asks me the same question: how far do you go?
Not "can this be fixed": that's usually the easy part. The real question is which of the things I could change, I actually should. Chase that line badly in one direction and you leave a customer with a fragile amp that's still broken in ways nobody's found yet. Chase it badly the other way and you end up with something that sounds and looks nothing like the amp they brought in, new for the sake of new.
An Ampeg M-15 that landed on my bench recently, fresh from an auction win and an unfortunate meeting with the wrong mains voltage, ended up being a good illustration of how I draw that line in practice. Not with a rulebook. With evidence.
Fix what's proven, not what's suspicious
Old amps are full of parts that look tired. Faded labels, a bit of corrosion, wiring that's clearly been in there since Eisenhower was in office. None of that tells you whether a part is actually causing a problem. So the first rule I hold myself to is simple: I don't replace something because it looks its age. I replace it because I've measured a fault.
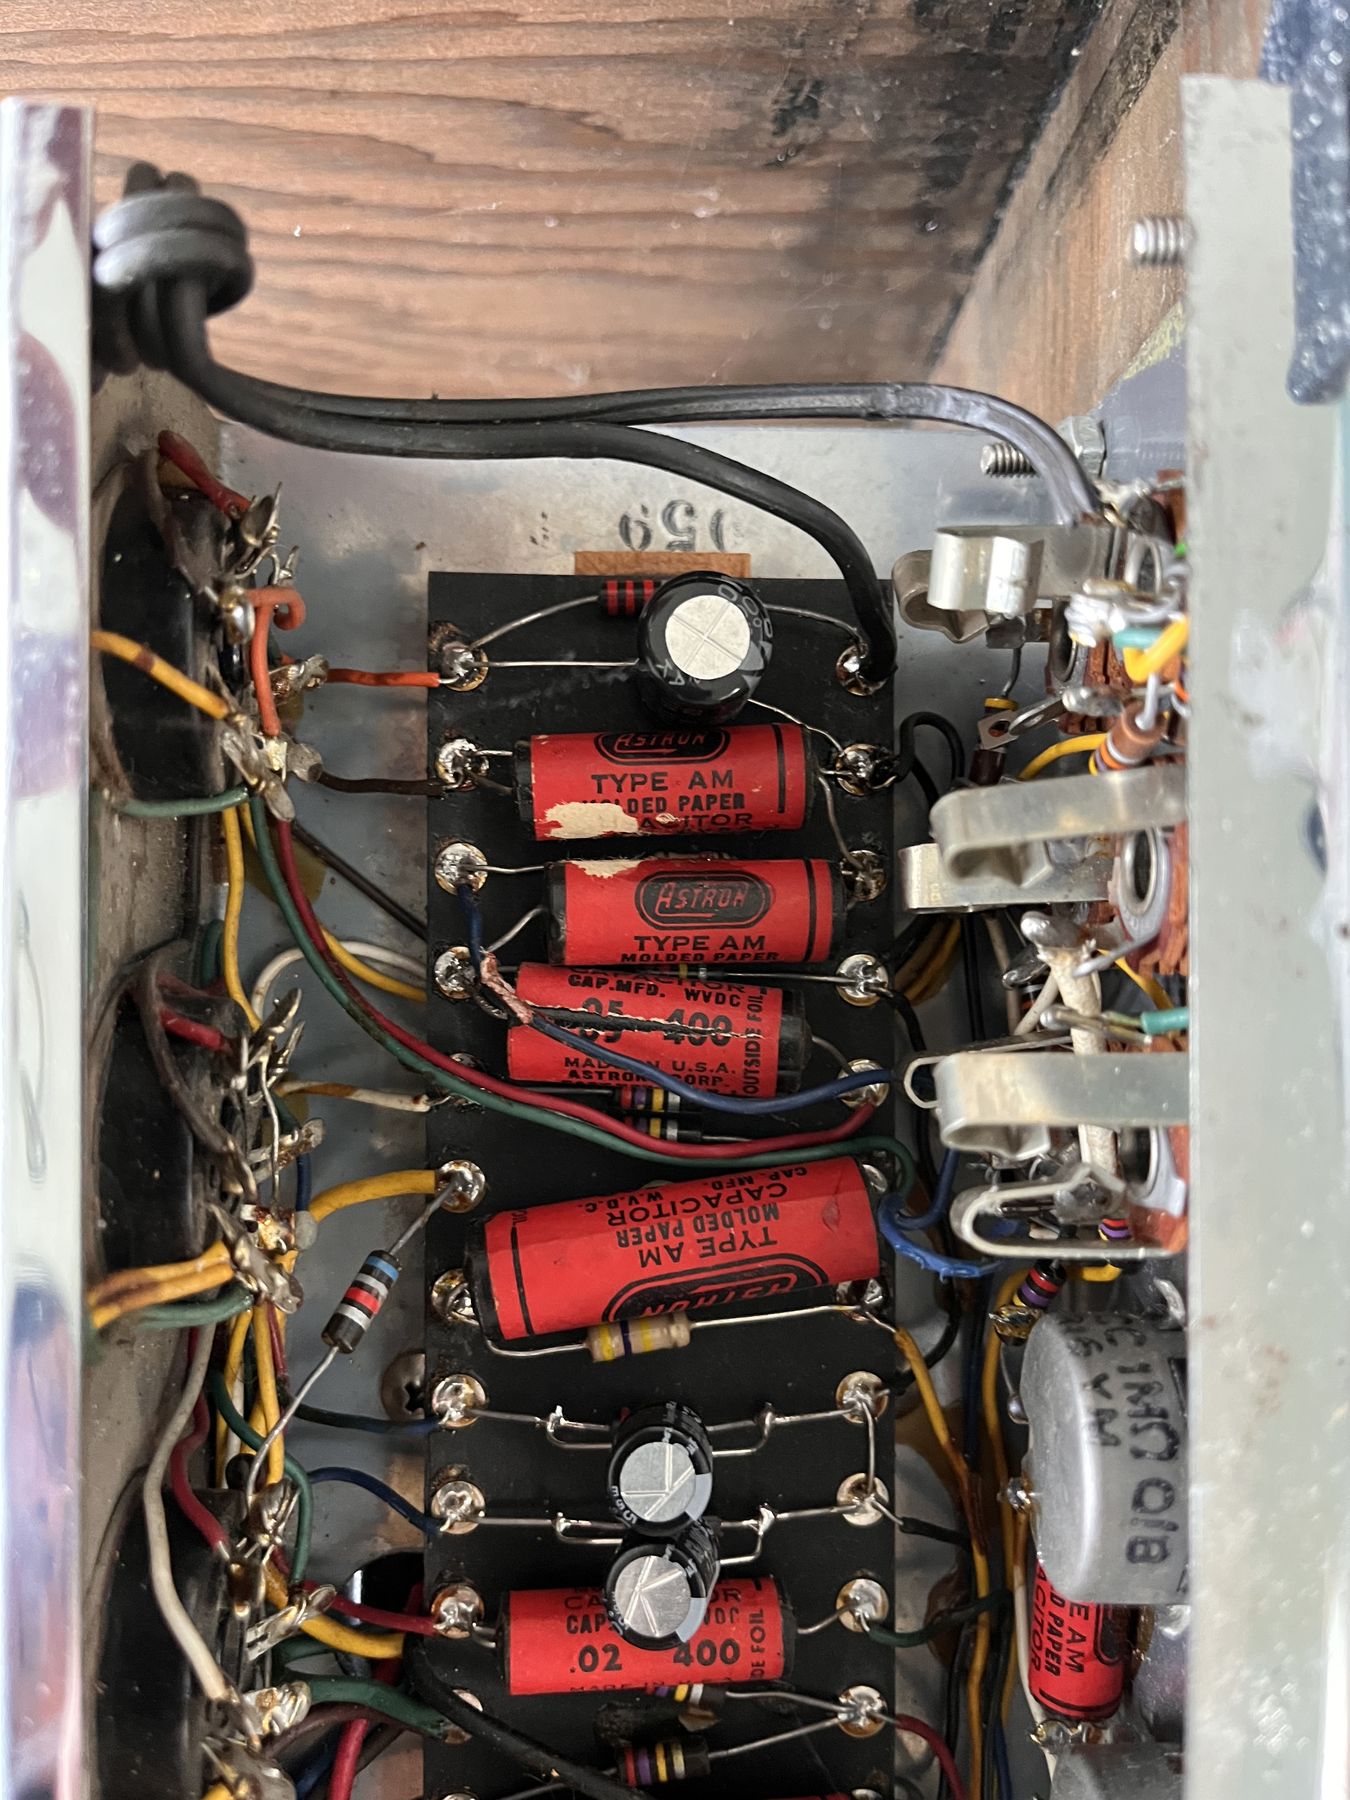
On this amp, six of the original paper coupling capacitors had failed: they were meant to block a certain amount of electrical current entirely, and instead they were leaking small amounts through, which is exactly what was causing the crackly controls and occasional fuzzy distortion the customer had reported. You can see it in the caps themselves, not just on a meter: the wax coating on a couple of them has visibly cracked and lifted with age, right where they'd started to fail electrically too.
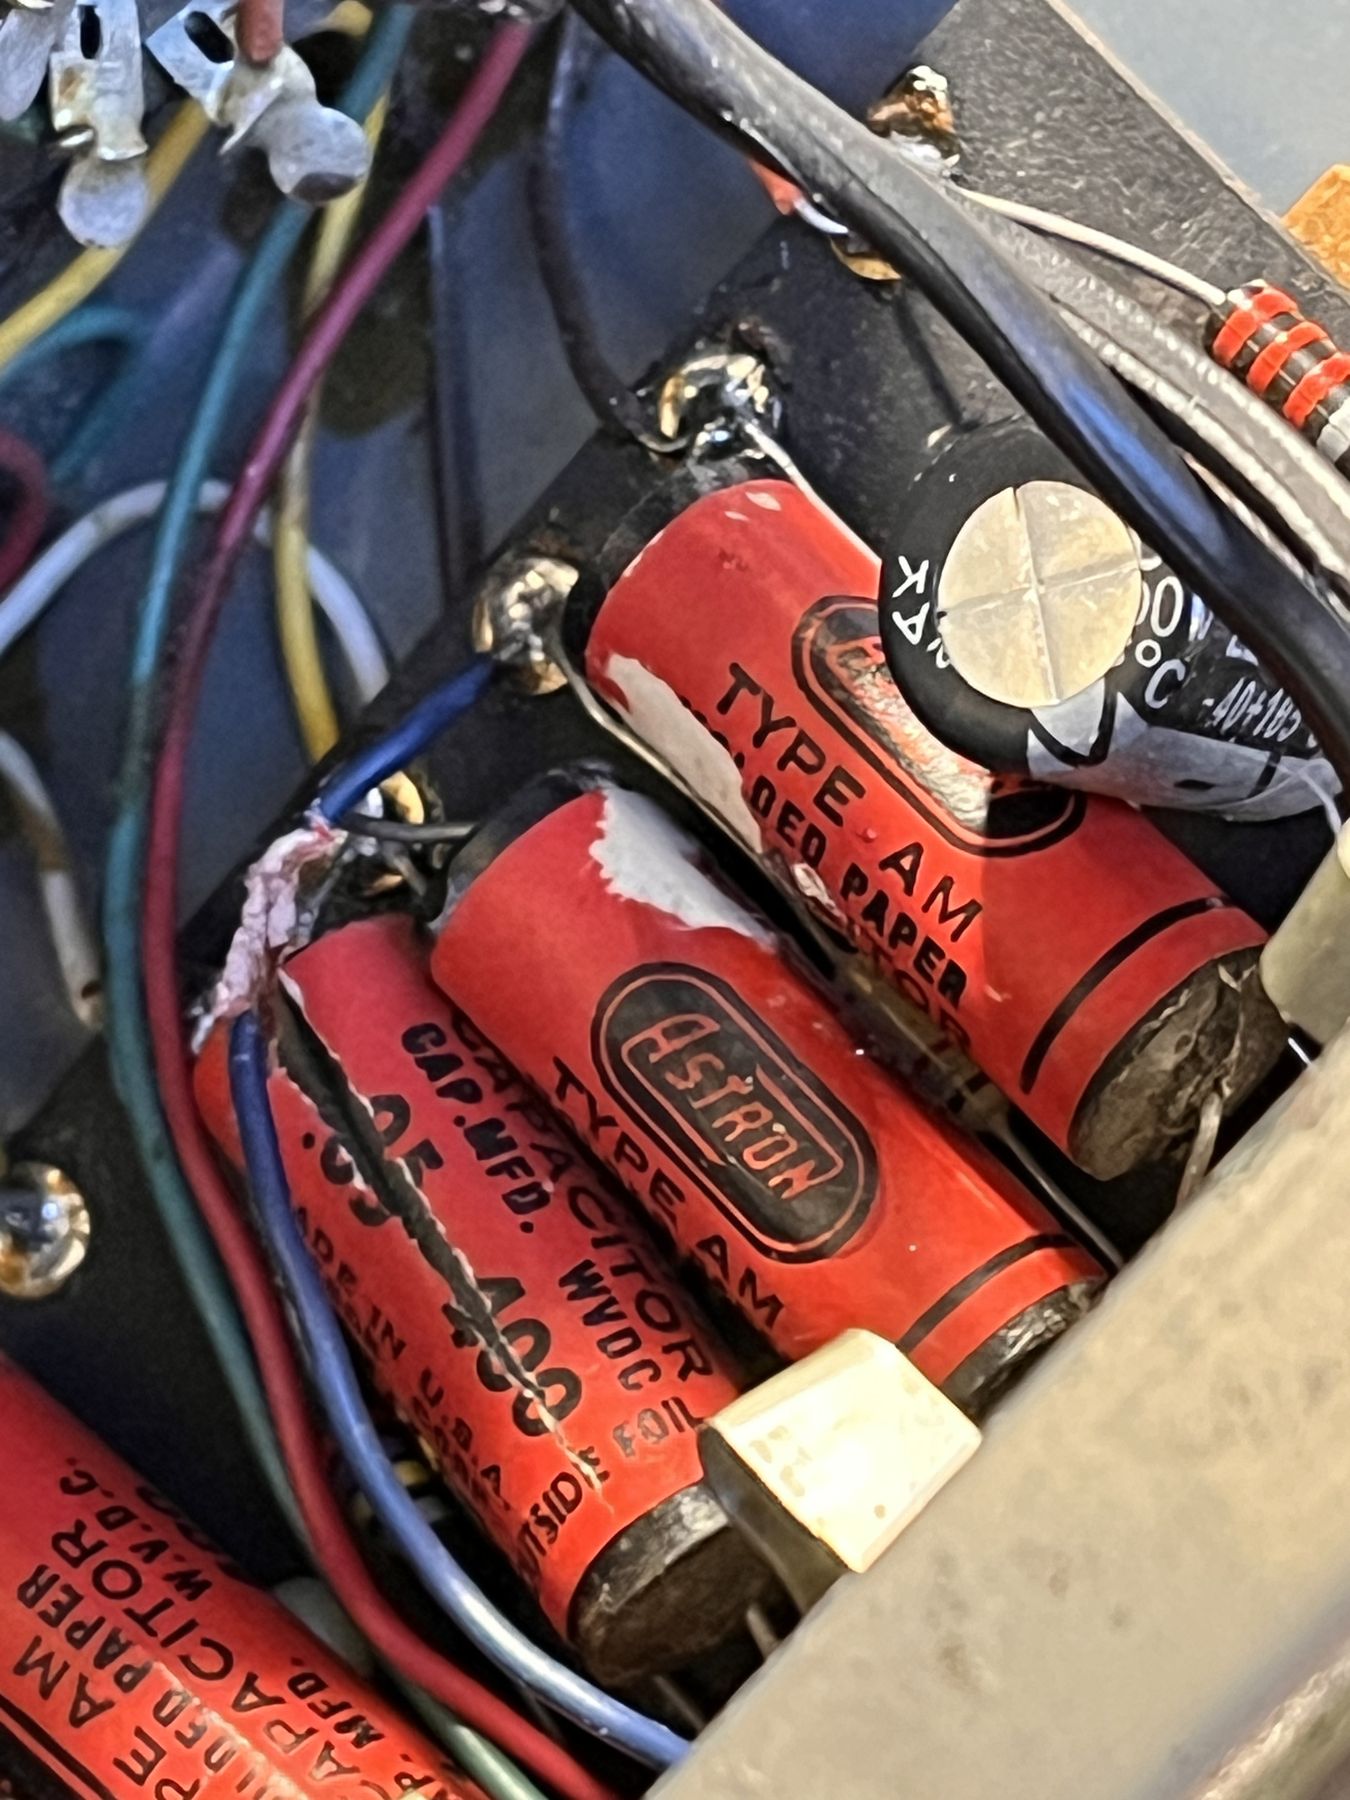
That's not a judgement call. Measured against what they should be doing, they were provably not doing it. All six came out, and new equivalents went in.
Compare that to the amp's big power-supply capacitor, the part most likely to get replaced on principle during a typical "cap job." It's old, it's showing some age on a meter, and plenty of techs would swap it as standard practice on a service this size. Instead, I clipped a much larger temporary capacitor in parallel with it and listened for whether it actually reduced the hum. It didn't move the needle. So it stayed. Genuine replacements only come from American suppliers at a real cost, and there was no measurable benefit to justify it. That's money left in the customer's pocket instead of my invoice, because the evidence said leave it.
Original work isn't sacred just because it's original
It's tempting to assume that anything done at the factory is correct and anything done afterward by a previous repairer is suspect. That's backwards more often than you'd think.
Deep in this amp's input wiring, I found a jack that looked, at first glance, exactly like a previous repair gone wrong: wired in a way that didn't match how the rest of the amp's inputs were done. My first instinct was that someone before me had made a mistake. Instead of correcting it on that assumption, I checked it against the original factory schematic. It matched exactly. Ampeg built it that way on purpose. I nearly "fixed" something that was never broken, purely because it looked unusual.
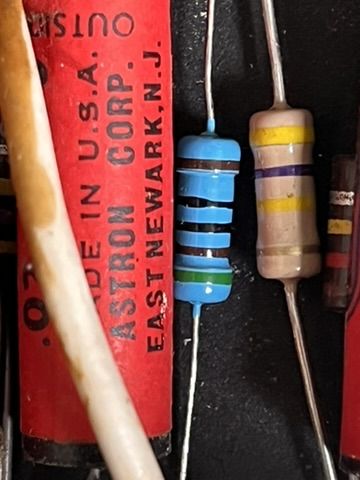
Meanwhile, elsewhere on the same amp, a component had been fitted with the wrong value at some point in the amp's past, decades before it reached me, going by the wear around it. What actually gave it away wasn't a stray reading on a meter, it was how lopsided the power amp sounded: one side of the output stage was carrying real signal, the other was almost silent by comparison, which is not something two properly matched halves of the same circuit should ever do. That kind of imbalance doesn't happen by accident: it's the sound of one side of the circuit not being allowed to do its job. Sure enough, every version of the schematic I could find agreed on what the part should be, and the colour bands on the part told a different story entirely. No ambiguity, no design quirk to second-guess. That one got corrected without hesitation, and the two sides came back into balance the moment it was fitted.
Test the theory, not just the symptom
The trickiest fault on this job was a faint bleed between the amp's two channels: you could just about hear one channel through the other. It would have been easy to blame the obvious suspect (the aging power supply) and move on. I didn't, because "obvious" and "correct" aren't the same thing, and a wrong diagnosis on a job like this just means the customer pays for a fix that doesn't fix anything.
Instead, it took a proper isolation test with a signal generator and an oscilloscope to even confirm what wasn't the cause. Driving a test tone through the circuit and comparing it against what came out the other side, on screen, ruled out the theory I'd been chasing before I wasted any more time on it.
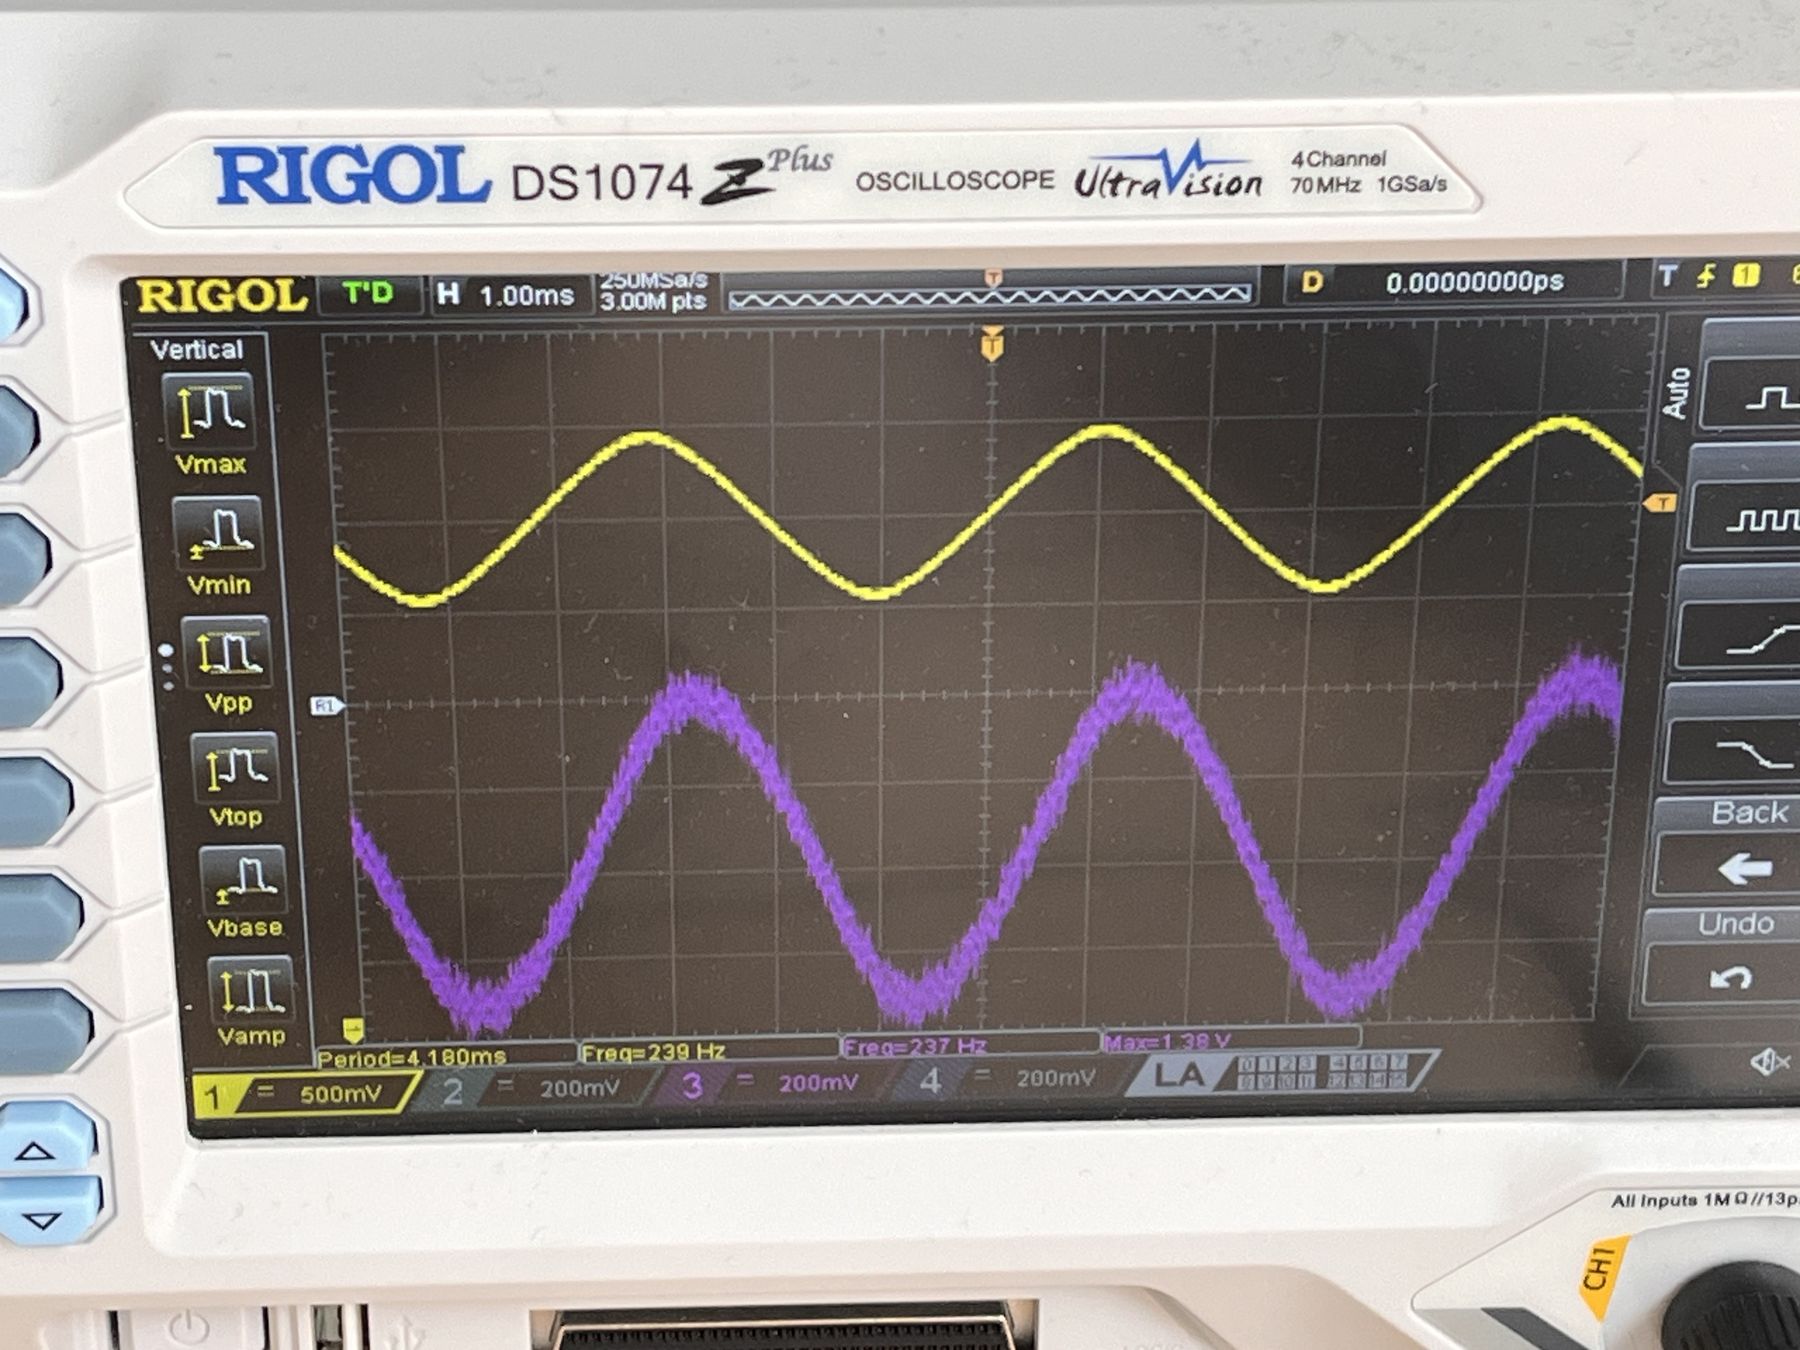
The real answers turned out to be two separate, unrelated things: a ground connection that had quietly degraded after decades of relying on bare metal contact rather than a proper soldered joint, and one original tube that had become oversensitive to vibration. Neither would have been obvious without testing each theory to destruction rather than settling for the first plausible one.
The line, in practice
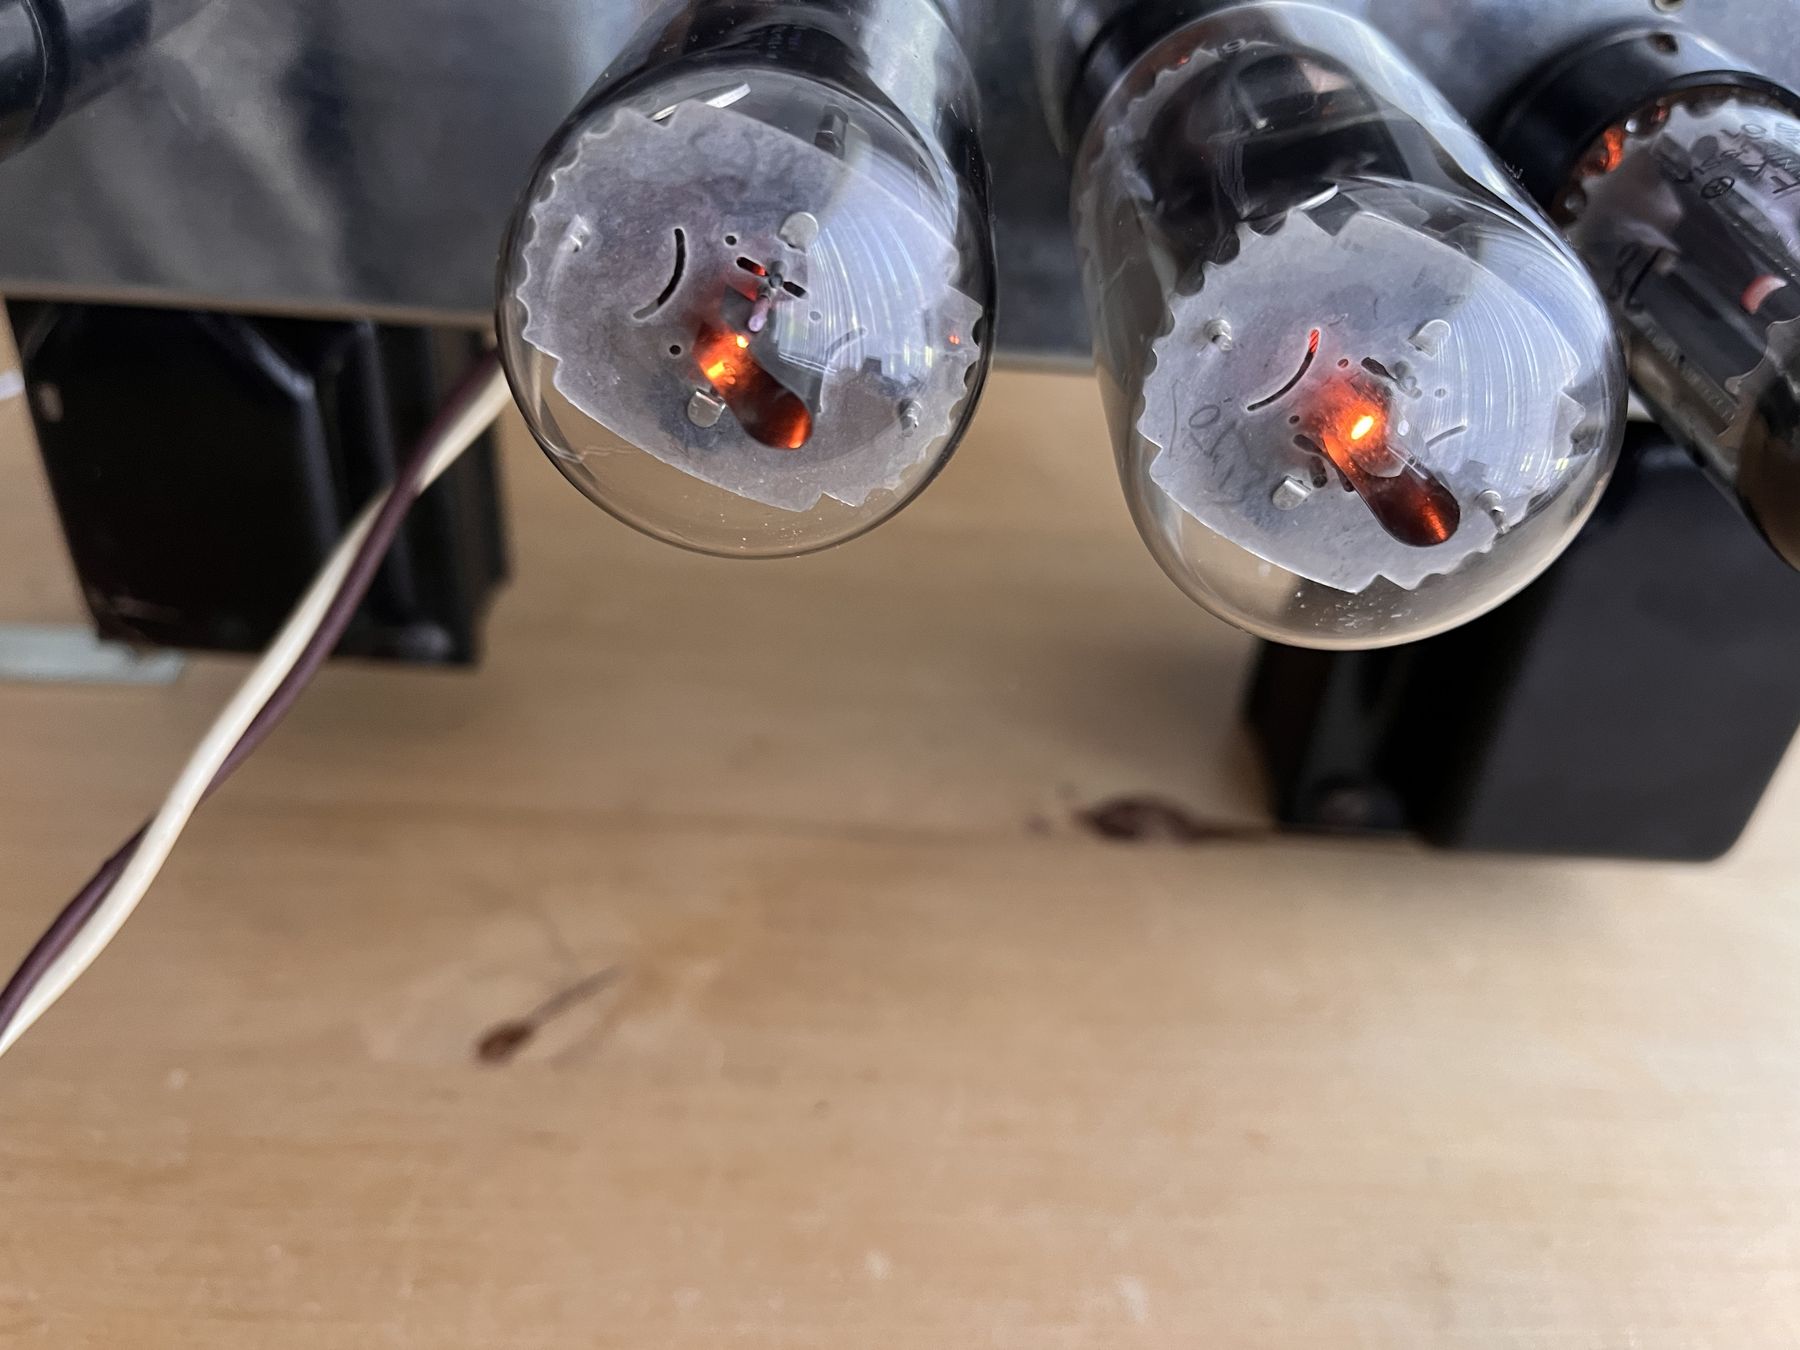
By the end of it, the M-15 had six worn capacitors replaced, one wrong part corrected, a degraded ground connection properly restored, and a sensitive tube relocated to a spot where it does no harm. It also still has its original power-supply capacitor, its non-original but perfectly healthy rectifier, and every bit of factory wiring exactly as Ampeg left it, including the one jack that nearly fooled me.
That's the line, as far as I draw it: change what's demonstrated to be wrong, leave what's demonstrated to be fine, and don't let "it's old" or "it looks unusual" stand in for actually checking. It's slower than just replacing everything on principle. It's also the only way I know to hand an amp back that's more reliable than when it arrived, without it being any less itself.